We’re live testing our new Shopify Plugin for PayItlater!
Here’s a quick guide on how to get started with the Shopify integration.
What you’ll need:
- Your production and test Merchant ID and Secret Key, received in your merchant setup email. (Don’t have your merchant setup email?)
- Your Shopify Admin panel
Additionally, you should pick a quiet time for your store to do the integration. You’ll know the quiet days and times!
Step 1: Install the plugin
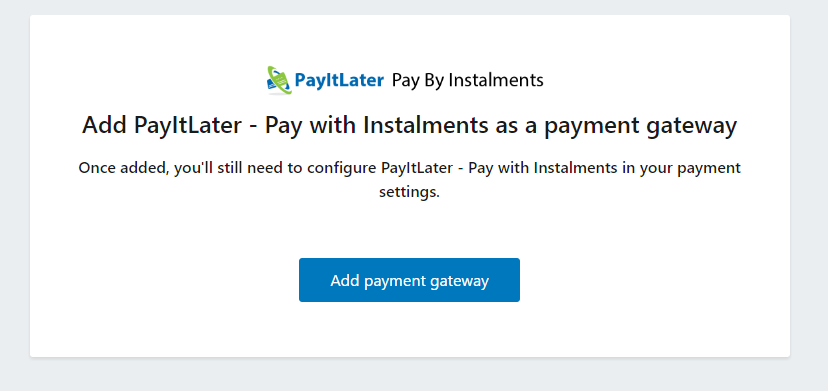
Visit https://www.shopify.com/login?redirect=authorize_gateway%2F1041296 to integrate the PayItLater (Pay with Instalments) payment gateway on your store.

Click “Add payment gateway”.
Step 2: Configure the plugin
Hopefully you’re now looking at configuration options for the PayItlater gateway. If not, follow these instructions:
In your store Admin panel, visit Settings (gear icon at bottom of toolbar), Payments.
In the payments panel, drop down the ‘Select a Credit Card Gateway’ box and select “PayItLater – Pay with Instalments”
You should have your test credentials from earlier.

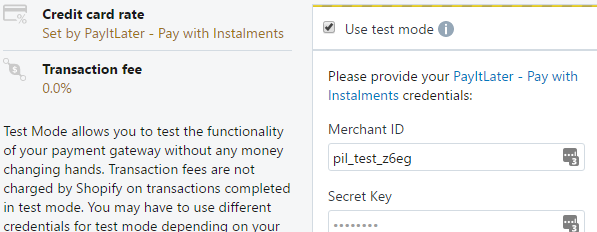
1. Check the “Use test mode” box, so we don’t process real payments while checking everything works.
2. Enter your test merchant ID in the merchant ID box. It’s best to copy and paste. This should be in the format “pil_test_…”
3. Enter your Secret Key in the Secret Key box. Again, this should start with “pil_test_”. This one is much longer, so you’ll definitely want to copy and paste.
4. Click ‘Activate’
Step 3: Place a test order.
Visit your store like a normal customer and place an order. At the checkout, make sure to choose PayItLater. Pay careful attention to the process, so you understand what your customers will see.
After choosing to complete order, you’ll be redirected to our secure payment system. Log in with your email address or facebook account, and proceed to payment options. Don’t worry, no real money will change hands.

On the payment details screen, enter your name, and “4242 4242 4242 4242” as the card number. Enter any valid expiry date and any 3 character CVV.
Agree to the terms and click “Pay Now”.

Step 4: Enable live gateway.
If you’re happy with this process, it’s time to go live! Return to your admin panel, visit Settings > Payments, and edit PayItLater settings.
It’s time to disable the “Use test mode” checkbox, and enter your production merchant ID and secret key (these start with pil_live…). It’s best to copy and paste.
Step 5: Place a real order?
It’s a good idea to place a real order too. Send us a request and we’ll cancel the order for you later.
Any problems?
If you got stuck or had any issues setting up the Shopify integration, please get in touch with us at [email protected], so we can help you through the process.


